


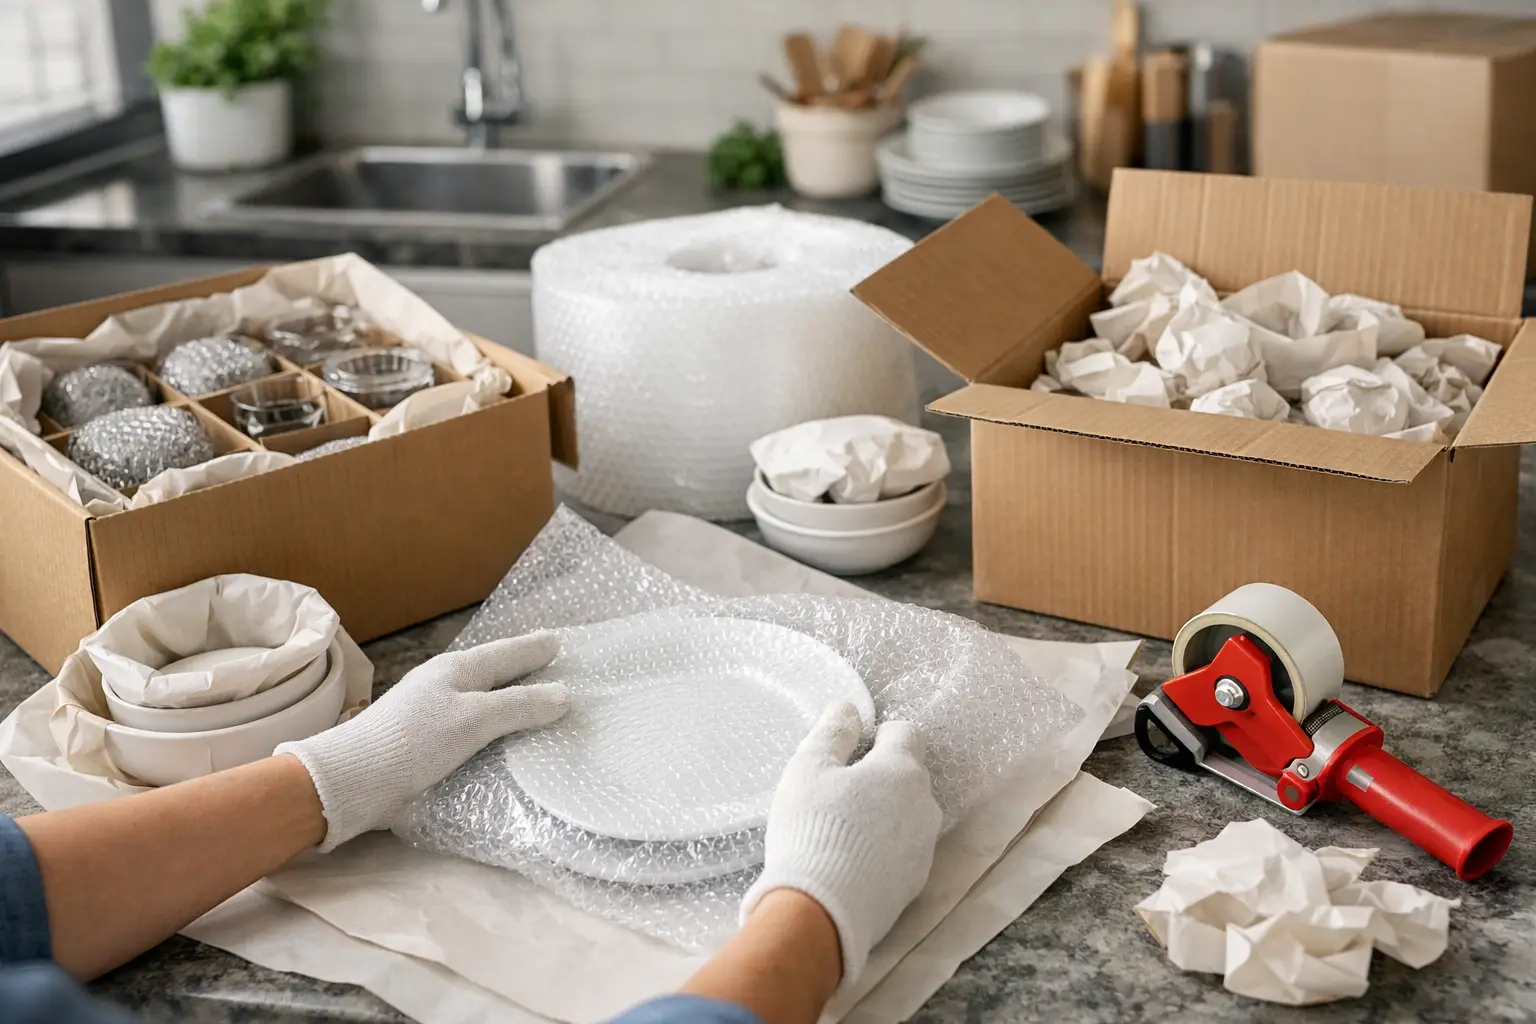
The kitchen is usually the last room people want to pack and the first one that reveals how much they own. A few cupboards can hold hundreds of fragile, awkward, and heavy items. The best way to pack a kitchen is to work in zones, use the right box for each item, and keep only the essentials available until moving day.
Packing this room well protects more than dinner plates. It prevents injuries from overloaded cartons, avoids the frustration of searching for the kettle on your first morning, and gives your movers safer boxes to carry. Start early if you can. A kitchen often takes longer than expected because every drawer needs sorting before it can be packed.
The Best Way to Pack a Kitchen: Start With a Clear Plan
Begin by emptying one cupboard, drawer, or shelf at a time. Do not spread kitchen contents across the whole house. It makes it harder to see what has been packed, what still needs cleaning, and what you need for the final few days.
Sort items into three groups as you go: keep, donate, and discard. Moving is a practical time to let go of chipped mugs, duplicate utensils, expired pantry goods, and appliances that have not been used in years. There is little value in paying to move things that will stay in a box at the new home.
Keep a small area or labeled tote for your moving-day kitchen essentials. This should include enough plates, cups, cutlery, a saucepan, a sharp knife with a cover, dish soap, a tea towel, coffee or tea supplies, and basic snacks. If you have children, add their familiar cups, bottles, and easy meal items. Pack this tote last and keep it with you rather than in the moving truck.
Gather packing materials before you begin
Kitchen items need more protection than clothing or linens. Small and medium moving boxes are generally safer than large boxes because dishes, jars, and appliances become extremely heavy very quickly. You will also need packing paper, sturdy tape, a marker, bubble wrap for particularly fragile pieces, and dividers or cell boxes for stemware if available.
Use clean packing paper rather than newspaper around dishes and glasses. Newspaper ink can transfer onto light-colored ceramics, glassware, and serving pieces. Towels and dishcloths can provide cushioning inside boxes, but they should not replace proper wrapping for fragile items.
Pack by Category, Not by Convenience
It is tempting to put everything from one cupboard into the nearest box. That approach often creates a carton full of mixed weights and fragile pieces with little protection. Instead, pack similar items together and use the right technique for each category.
Plates, bowls, and serving dishes
Wrap plates individually with packing paper and stack them on their edges inside the box, much like records in a crate. Plates are stronger when packed vertically than when laid flat in a tall stack. Place a cushioning layer at the bottom of the carton, fill gaps around the sides, and add another layer of paper on top before sealing.
Pack bowls in small nested groups only after wrapping each one. Large platters, baking dishes, and serving bowls should be wrapped separately and positioned upright where possible. Keep the box compact, but do not force items into place. Movement inside a carton is what causes most breakage.
Glassware, mugs, and stemware
Wrap every glass individually, including sturdy drinking glasses. Start by placing paper inside the glass, then roll it in additional sheets and tuck the ends securely. For wine glasses and other stemware, protect the stem with extra paper and use a cell box or dividers when possible.
Mugs can be wrapped one by one, with extra cushioning around handles. Do not pack mugs inside each other unless they are designed to stack. A handle pressed against another mug is likely to crack when the box is lifted or set down.
Pots, pans, and cooking tools
Nest pots and pans with a layer of packing paper, tea towels, or soft cloth between each piece to prevent scratches. Put lids on their sides rather than flat across the top, and wrap glass lids separately. Heavy cast-iron cookware should go into small boxes only, with enough padding to stop it shifting.
Bundle cutlery in small groups, then wrap the bundles in paper. Sharp knives require extra care. Wrap each knife in several sheets of paper or a protective sleeve, fold the paper securely around the blade, and clearly mark the outside of the bundle. Never leave loose knives in a box.
Small appliances and pantry items
If you still have the original packaging for appliances, use it. If not, wrap each appliance, remove loose parts, and pack them in a snug box with padding. Secure cords with a twist tie or tape them gently against the appliance so they do not scratch other items.
Dry pantry goods are often worth moving if they are unopened, sealed, and reasonably light. Use small boxes for cans, jars, oils, and sauces. Check every lid, place glass jars upright, and line the carton with a plastic bag or towel in case of a leak. Avoid moving opened liquids, half-used cooking oils, or anything likely to spill.
Keep Boxes Safe to Lift and Easy to Unpack
A well-packed kitchen box should feel full but not strained. Fill empty spaces with crumpled paper, then gently shake the carton before sealing. If you hear or feel movement, add more cushioning. Do not use a box that is soft, torn, damp, or previously weakened by heavy items.
Label each carton on at least two sides. Include the room, a clear category, and handling instructions where needed. For example, write “Kitchen – Everyday Plates – Fragile” rather than simply “Kitchen.” Specific labels help movers place boxes in the right area and make your first night much easier.
Avoid writing “fragile” as the only instruction. Fragile boxes still need to be packed correctly and kept to a manageable weight. Marking a carton does not make it safe if it contains loose glasses or twenty pounds of cookware.
Prepare Appliances Before the Move
Large kitchen appliances need attention before packing day. Empty and defrost refrigerators and freezers well ahead of time, then dry the interior thoroughly. A damp fridge can develop odors or mildew during transport. Remove shelves and drawers if practical, wrap them, and secure doors according to the appliance instructions.
Dishwashers, coffee machines, and water-filtered appliances should be emptied and drained. Check that any water lines are disconnected by an appropriately qualified professional if needed. For specialty appliances, take a quick photo of the connections before anything is disconnected. It can save time when setting up at the new home.
If you are moving from an apartment, waterfront property, steep driveway, or rural home, let your moving team know about access conditions early. The right information helps them plan for stairs, parking, narrow entries, and the safest route for heavy appliances.
Know When Professional Packing Is Worth It
Professional packing can be especially helpful when time is short, there is a large collection of glassware or china, or you are coordinating a family move while managing work and children. It also makes sense when a kitchen must be cleared as part of an estate process, where items may need to be handled thoughtfully and sorted with care.
A professional crew brings the materials, packing methods, and pace needed to protect fragile belongings without turning the move into a week-long project. Atlantis Removals can provide packing and unpacking support alongside your move, which allows you to choose help for the whole kitchen or only the most fragile and time-consuming items.
Before sealing the final kitchen box, pause and look around the room. Check the top shelves, inside the oven, behind drawers, and under the sink. Then leave yourself one labeled essentials tote and a clean bench for moving day. That small bit of order makes the first cup of coffee in your new kitchen feel much more like home.